Deploying the Ionic iOS Application to App Store

Table of Contents
- Deploying the Ionic iOS Application to App Store 📲
- Adding iOS platform and Building the Ionic application.
- Archive the iOS Application using Xcode.
- Checking the App on App Store Connect.
- Signing the iOS Application Manually
- Conclusion
- Next Steps
- Ionic Capacitor
- Ionic Cordova
- Ionic React Full App with Capacitor
- Ionic Capacitor Full App (Angular)
- Ionic Full App (Angular and Cordova)
Deploying the Ionic iOS Application to App Store 📲
Deploying an Ionic iOS application to the App store is easier than deploying an Android application. In the Android application, we have to create an APK/Bundle and sign the APK/Bundle with a Keystore. And in the case of iOS applications, Xcode handles most of the signing and other stuff.
Note :- App Store is very strict about the app details, correct information, legal use of resources – all info provided should be very clear and true.
There are some Prerequisites to following this tutorial and deploying the app to App Store.
- You must have Apple Developers Account (App Store connect Account).
- You must have Xcode installed on your Mac.
- The Most important:- You should have an Ionic application.
Now let start, and get your hands dirty into the Code. It’s enough of talking.

Register into Apple Developers Account
Before Registering you have to enroll in some of the programs. To get all the information about registration. Goto Enroll Program.
Adding iOS platform and Building the Ionic application.
As we already assume that you know how to start an Ionic Application. We will not go into details about it, you can check out our other blogs for Ionic app tutorials.
Add iOS app platform
Add the iOS platform to your ionic app with these commands (run from project root) :
$ npm install [@capacitor/i](http://twitter.com/capacitor/android "Twitter profile for @capacitor/android")os
    $ npx cap add ios
You can sync the existing installed plugins and web assets using
$ npx cap sync ios
This will update the corresponding pods for the iOS project and open the project in Xcode using
$ npx cap open ios
Click on **App** in left menu -> **Signing & Capabilities**** , **select your development Team, keep **Automatically Manage Signing** checked.

Signing & Capabilities
Archive the iOS Application using Xcode.
To Build the iOS application, Open XCode and Select Any iOS Device from the top of the window.

Select Any iOS Device
As we want to deploy App, which can be run on any iOS device. That’s why we have to select Any iOS Device. Then Click on Product and Select “Build “. This command will build the App code and will check if there is any Error in Plugins or in Code. If there is no error, then we are good to go (Let’s Go..!)
But before Archiving and following the further step, you have to create an app in app store connect. To Create it, goto to the home page and click on create app option.

It will ask for the App name and a few more information, here Bundle ID is handled by the XCode. When you click on Bundle ID, it will show some of the bundle IDs connected to your Apple ID.

Creating new App.
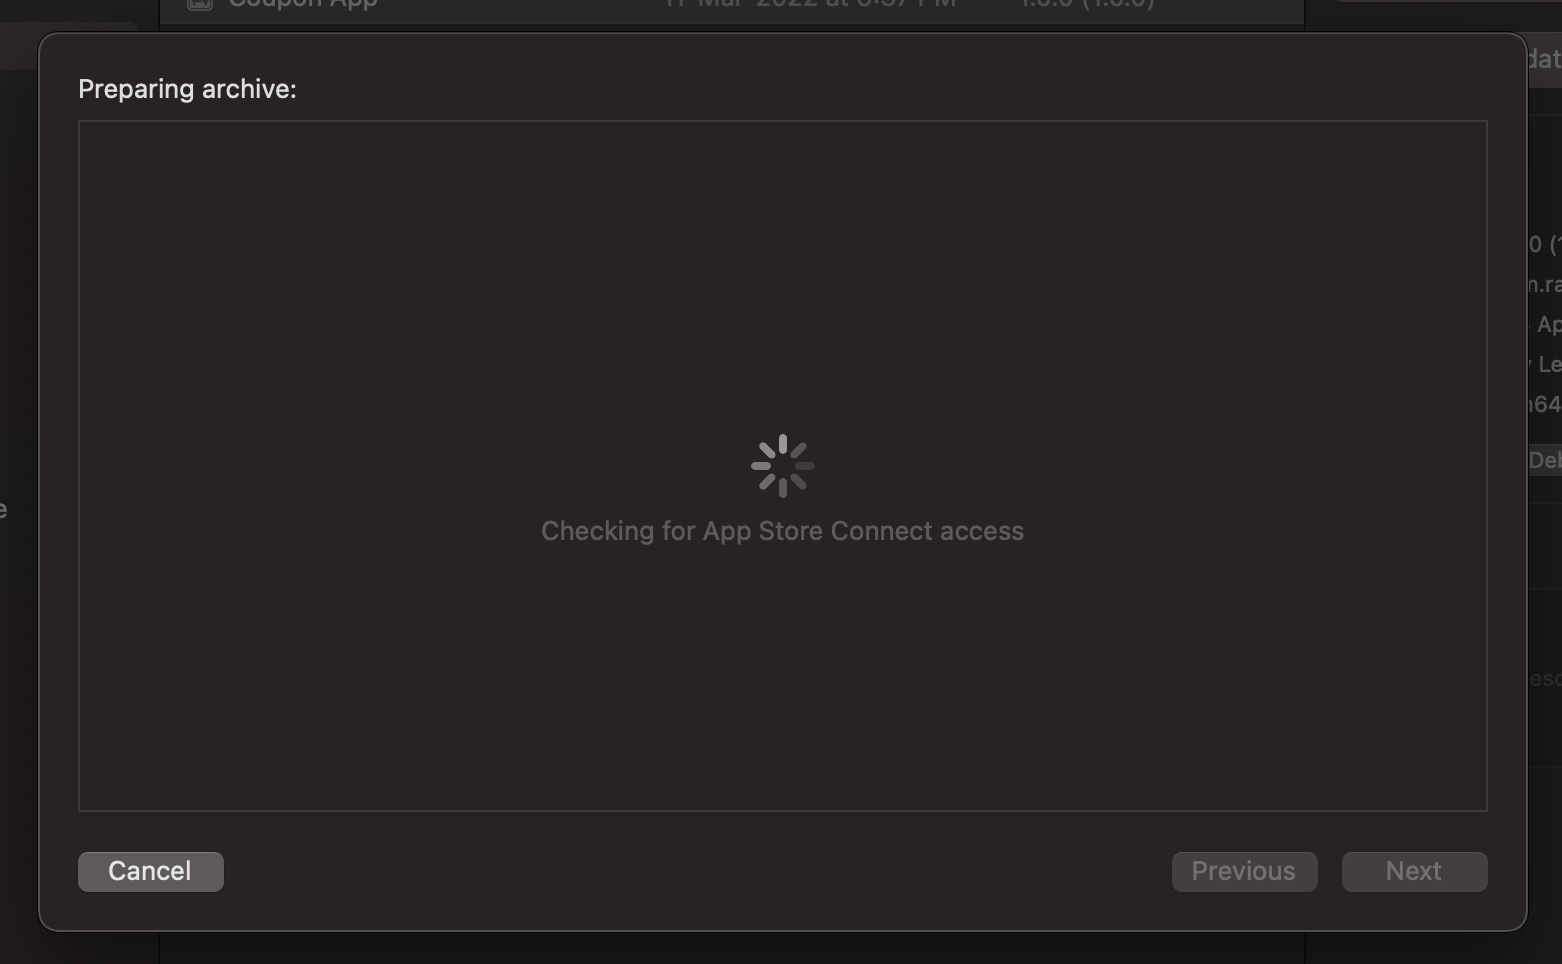
Once the app is created you will see a Dashboard (Now Xcode will check for the App in App Store Connect), where you have to input the information about the Application like App Screenshots , App Logo, and Login Information.

App Information
Note :- If your App has some login mechanism then provide it in the App Access section. As Apple Team will log in to the app and will check the app in detail.
Now select the Archive option in Product Options in XCode, This will create a new version of the iOS build for the code. It creates a .ipa file that is equivalent to the .apk in Android.

Archiving the iOS Application
Once the iOS app is archived, you will get a popup to select Distribution Method. Click on Distribute option, it will ask which way you want to distribute the application.

Distributing Platform
As we want to distribute the iOS app to the App Store, so select App Store Connect and click on “Next “. After selecting Platform, we have to select the destination for the App to be uploaded.
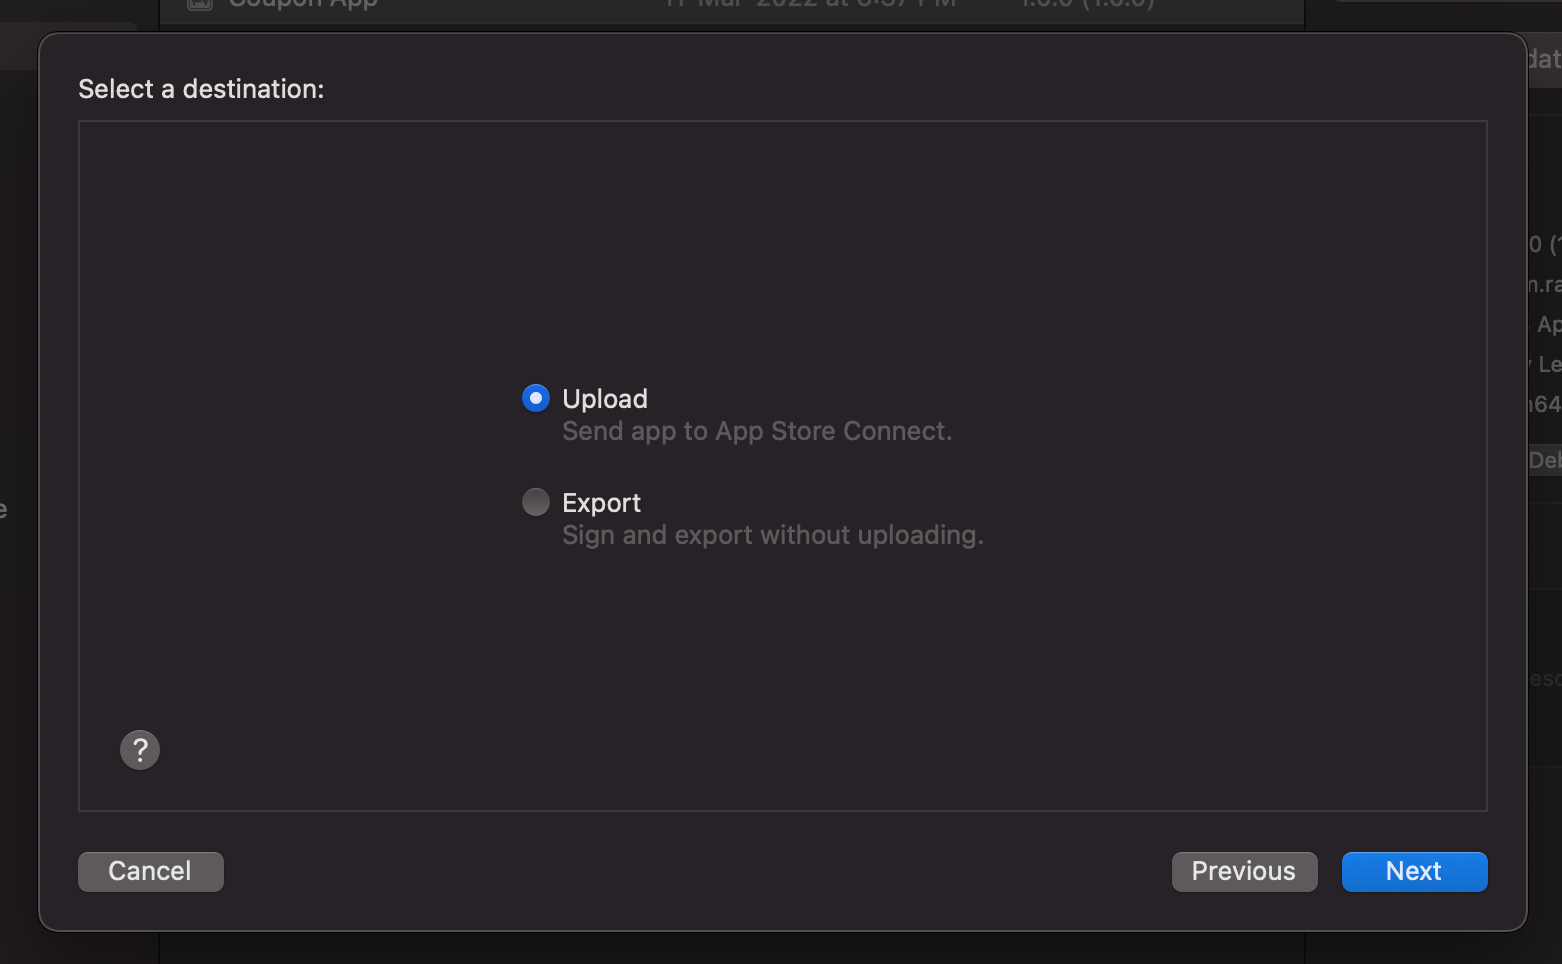
Selecting the Destination
To upload this version of the application, select the “Upload " option and click on “Next “. This will take some time to upload the Archive to the App Store.
Uploading Archive
While Uploading the Archive, it will ask for some options. Like App Store Connect Distribution options.

App Store Connect distribution options
Keep it as it is, as we want to upload the App Symbols and Manage Version automatically by the XCode. Now click on “Next”.
Now the important part comes that makes our work much easier, is managing to sign of Archive. The “Automatically manage to sign” option is auto-selected. Don’t touch it unless you love problematic life 😂, XCode is here to make your life easy.
Note :- If you want to Sign the Application manually. Check the later part of the Blog. ⬇️

Now click on “Next”, Finally this will Process and it will show the summary of the Application. Much awaited option “Upload " button will come up.

Uploading the Archive
Finally, it is uploading now….!! 😎. If you see it, it shows uploading App.ipa file. This means the Archive contains the IPA file. Which is being uploaded to the App store connect.
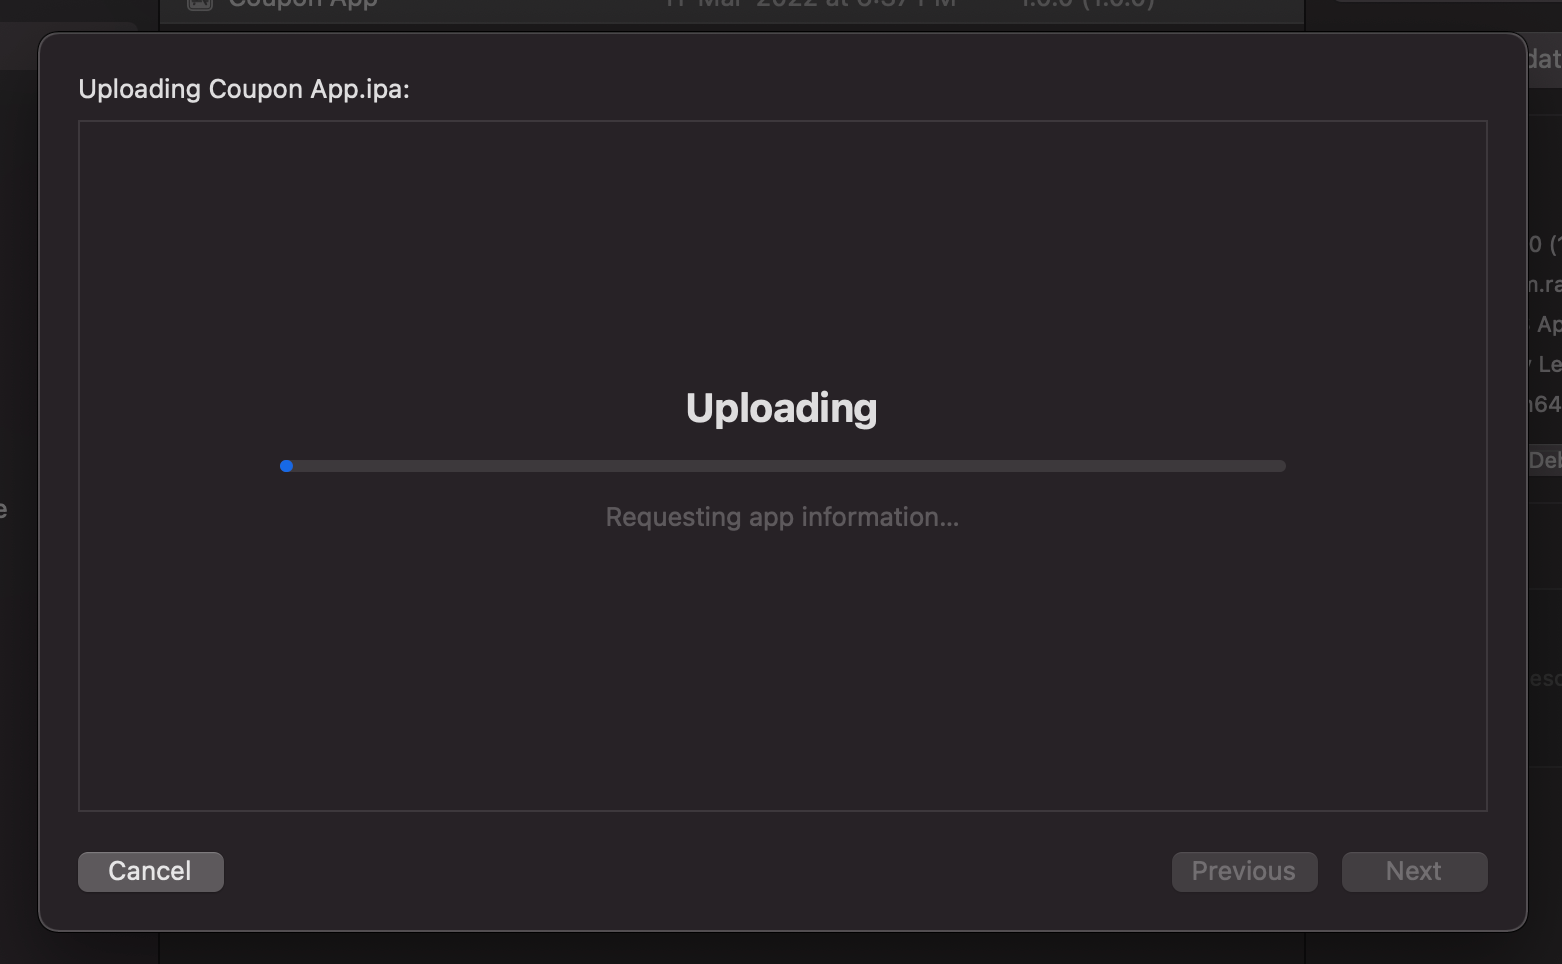
Uploading….!
Yay, our application is being uploaded to the App store connect. Now we will move to the the App Store Connect Dashboard. To set up and publish the application.

Uploaded Successfully..!
Checking the App on App Store Connect.
To check App is there in App Store Connect Dashboard. Goto TestFlight Tab – you will see the App uploaded there. From there it can be used for internal testing OR for Deploying the application to the App Store.

Uploaded App on App Store Connect
Now to deploy the application, you have added a build on the Dashboard. Scroll a bit and click on the Select a build option.

Select Build
Selecting a Build will show you the apps present in Testflight. You have to select the proper version of the application (currently there’s only 1 version available).
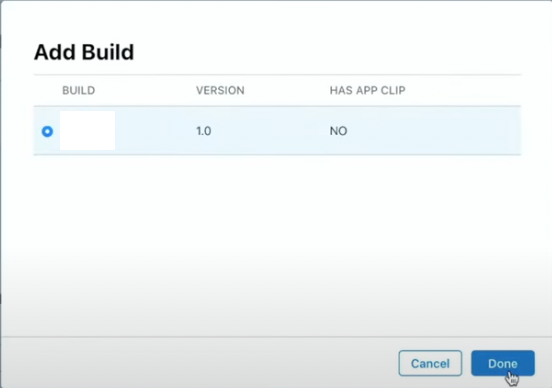
Select the App on Test Flight
Now we have filled in all the information and selected the Build. It is the time for submitting it for the Review.

Click on Submit for Review and App will be submitted for review to the Apple Team. It can take up to a week to review. But Apple Team will Review it and will contact you if there is some problem OR they will publish the Application🎉.
Signing the iOS Application Manually
To sign the Application manually – when you want to control the signing steps completely, you have to create a certificate and provisioning profile in the App Store Connect. Once you login into App Store connect, Goto Certificates, ID and Profiles and create a certificate.

Certificates and Identifiers
Click one + and it will ask for “what type of certificate you want to create “. We have to select the Apple Distribution option and click on continue. Now it will ask for “Certificate Signing Request” which we have to create using Mac.

Creating Certificates
Creating Certificate Signing Request
Open Keychain Access on your Mac, goto Certificate Assistance , and “Request a Certificate from Certificate Authority”. It will open a Certificate Assistance and you have to enter an Email ID (Apple ID) and select the Saved to Disk option. Click on continue to Create and Download the Certificate Signing Request.
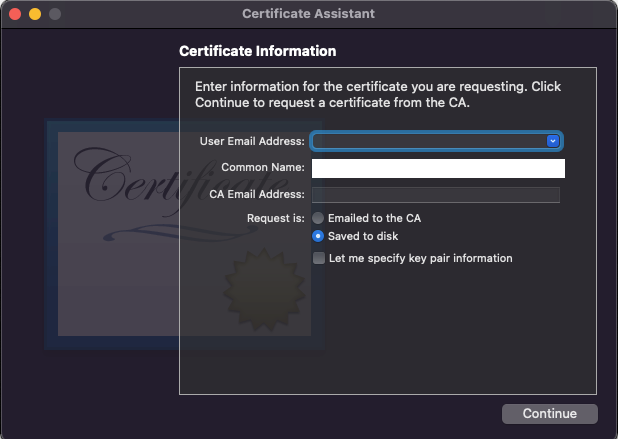
Requesting Certificates
Once CertificateSigningRequest (.certSigningRequest) is downloaded. We have to upload that into Adding Certificates Section.

Uploading Certificate
Creating Profile
We have created the Certificate, now go to Profiles Section and Add a new profile. It will ask for “which type of profile you want to add “. Select the App Store option from Distribution Section.

Selecting Provisioning Profile
After clicking on Continue, we have to select the App (using App ID). When you click on the dropdown, it will sync with XCode and suggest the already existing Apps (as Bundle Name). Select the App and click on “Continue”.

Selecting App ID
Once you click on continue, It can ask for the name of the Profile (Use any name). And you can download the Profile (.mobileprofile) after the process.
Now we have the Certificate and Profile. It’s time to manually sign the iOS application.
Manually Sign the iOS application
After selecting the Manually Signing option. It will ask for a Certificate and Profile.

Manually Signing
Click on next after selecting the Downloaded Certificate and Profile. Then XCode will sign the iOS application and Send it to the App store connect (Test Flight). Then you can select the Build Version on the Release Page (Shown Above). And your manual signing process is complete.
Conclusion
Now our iOS Application is being deployed to the App Store. You can share the link to the app with the users – after the Apple team reviews the App. So they can download the application and use it. Stay tuned to Enappd Blogs for more Awesome Blogs.
Next Steps
If you liked this blog, you will also find the following blogs interesting and helpful. Feel free to ask any questions in the comment section
Ionic Capacitor
- Basic – Geolocation | Barcode & QR code | Facebook Login (Angular) | Facebook Login (React) | Icon and Splash | Camera & Photo Gallery | Debugging with browser|Theming in Ionic apps
- Advanced – AdMob | Local Notifications | Google Login | Twitter Login | Games using Phaser | Play music | Push Notifications
Ionic Cordova
- Taxi Booking App example with Ionic, Node, Express and MySQL
- Ionic Payment Gateways – Stripe with Firebase | Stripe with NodeJS | PayPal | Apple Pay | RazorPay
- Ionic Charts with – Google Charts| HighCharts | d3.js | Chart.js
- Ionic Authentications – Via Email | Anonymous | Facebook | Google | Twitter | Via Phone
- Ionic Features – Geolocation| QR Code reader | Pedometer| Signature Pad | Background Geolocation
- Media in Ionic – Audio | Video | Image Picker | Image Cropper
- Ionic Essentials – Debugging with browser| Native Storage | Translations | RTL | Sentry Error Monitoring | Social sharing
- Ionic messaging – Firebase Push | Reading SMS | Local Notifications
- Ionic with Firebase – Basics | Hosting and DB | Cloud functions | Deploy App to Firebase | Firebase simulator
- Unit Testing in Ionic – Part 1 | Mocks & Spies| Async Testing
Ionic React Full App with Capacitor
If you need a base to start your next Ionic 5 React Capacitor app, you can make your next awesome app using Ionic 5 React Full App in Capacitor

Ionic 5 React Full App in Capacitor from Enappd
Ionic Capacitor Full App (Angular)
If you need a base to start your next Angular Capacitor app , you can make your next awesome app using Capacitor Full App
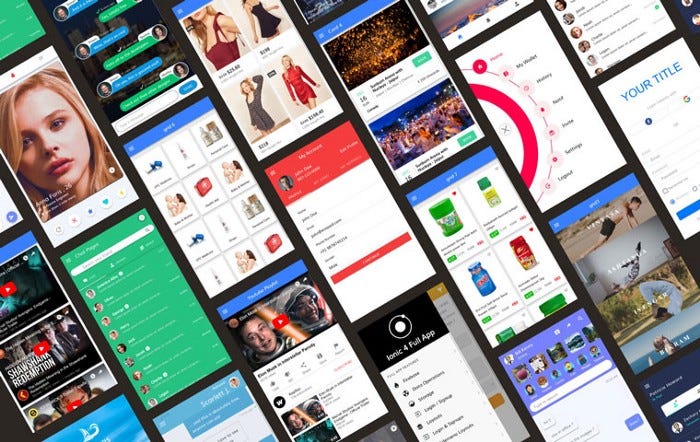
Capacitor Full App with huge number of layouts and features
Ionic Full App (Angular and Cordova)
If you need a base to start your next Ionic 5 app, you can make your next awesome app using Ionic 5 Full App
Ionic Full App in Cordova, with huge number of layouts and features