How To Build Web Components Using Stencil JS

How To Build Web Components Using Stencil JS
Stencil is a compiler that generates Web Components (more specifically, Custom Elements). Stencil combines the best concepts of the most popular frameworks into a simple build-time tool. and we can use these web components everywhere in Your JavaScript Projects(Angular, React, Vue) without need to copying one thing again and again. You can either use it in your vanilla JavaScript.
Stencil was created by the Ionic Framework team to help build faster, more capable components that worked across all major frameworks.
Goals and Features of a stencil
Stencil aims to combine the best concepts of the most popular front-end frameworks into a compile-time tool rather than a run-time tool. It’s important to stress that Stencil’s goal is to not become or be seen as a “framework”, but rather our goal is to provide a great developer experience and tooling expected from a framework
Virtual DOM
basically, The virtual DOM (VDOM) is a programming concept where an ideal, or “virtual “, representation of a UI is kept in memory and synced with the “real” DOM by a library.
Async rendering (inspired by React Fiber)
we can also able to do an asynchronous call before rendering the data implemented in a Class
Reactive data-binding
Reactive data-binding simply means that a flow of changes in your data drives action. Whether the change comes from both the DOM and the data in your application or just one of those, does not really matter.
TypeScript
TypeScript is an open-source programming language developed and maintained by Microsoft. It is a strict syntactical superset of JavaScript and adds optional static typing to the language. TypeScript is designed for development of large applications and trans compiles to JavaScript
JSX
JSX is a preprocessor step that adds XML syntax to JavaScript. You can definitely use Stencil without JSX but JSX makes Stencil components a lot more elegant. Just like XML, **JSX **tags have a tag name, attributes, and children. If an attribute value is enclosed in quotes, the value is a string.
Live reload
Live reloading reloads or refreshes the entire app when a file changes.
Web Standards
Components generated by Stencil, in the end, are built on top of web components, so they work in any major framework or with no framework at all. Additionally, other standards heavily relied on include ES Modules and dynamic imports which have proven to replace traditional bundlers which add unnecessary complexities and run-time JavaScript. By using web-standards, developers can learn and adopt a standard API documented across the world, rather than custom framework APIs that continue to change.
Wide Browser Support
For the small minority of browsers that do not support modern browser features and APIs, Stencil will automatically polyfill them on-demand.
Automatic Optimizations
There are countless optimizations and tweaks developers must do to improve performance of components and websites. With a compiler, Stencil is able to analyze component code as an input, and generate optimized components as an output.
Run-time Performance
Instead of writing custom client-side JavaScript which every user needs to download and parse for the app to work, Stencil instead prefers to use the already amazing APIs built directly within the browser. These APIs include Custom Elements
Tiny API
Stencil purposely does not come with a large custom API which needs to be learned and re-learned, but rather heavily relies on, you guessed it, web standards. Again, our goal is to not create yet-another-framework, but rather provide tooling for developers to generate future-friendly components using APIs already baked within the browser. The smaller the API, the easier to learn, and the less that can be broken.
Getting Started
Steps we will follow for Adding Stencil to our Simple Javascript Application
- Crating a simple Stencil component
- Modify this component according to our requirements
- Add this component into Our Javascript Application
Crating a simple Stencil component
Stencil requires a recent LTS version of NodeJS and npm. Make sure you’ve installed and/or updated Node before continuing.
Note that you will need to use npm 6 or higher.
For Creating Project in a stencil, you have to open your system terminal and type
npm init stencil

Stencil Init
Stencil can be used to create standalone components or entire apps. After running init you will be provided with a prompt so that you can choose the type of project to start.
In this Blog, we will cover components part of the stencil.
so after clicking on component, it will ask you for the component name

Component name Stencil
After the name, it will ask for confirmation of the name

Confirm Stencil
when you press ‘Y ’ here and press enter key. it will create your component

Component Create Stencil
so once it finishes go to your project folder and run
npm start
to spin up the development server and it should automatically open in a new tab in your browser if it doesn’t you can find it on localhost:3333

Stencil app started
and you should see Hello, World! I'm Stencil 'Don't call me a framework' JS
Okay so now let’s look into the folder we got from the command to find out what is responsible for this output. so I have opened the project folder with visual studio code, of course, you can use webstorm, atom, sublime whatever you like. Inside of this folder, you can see a couple of folder and file. The files are mostly config file. you won’t see a webpack config file yeah stencil might use webpack behind the scene but it doesn’t expose the configuration to you because of the stencil itself a compiler it false the idea of doing that logic for you.
In stencil, you don’t need to config a webpack to bundle all your files and framework and so on together because again you are not using a framework here.
Now let’s have a look in Source folder in which we write our own component as you might guess in the components folder and there you find one folder named my-component with two files inside of it.
When you check my-component.tsx . This might look bit like angular to you it uses typescript and decorators and then again it’s look bit like React because we have the render method where we return some HTML but that is JSX. and we also have a css file where we can style our own component.
and we also have an index.html file in the source folder where we have added our component. But again, in the end, we just split out a couple of javascript files you can drop into any project, But for testing, it gives us an index.html file
Modify this component according to our requirements
Now we will modify existing my-component.tsx file and makes one component which is responsible for creating custom modal.
So here we have modified our my-component.tsx file for creating custom modal.

In this example, we have used 4 decorators
- Component :- @Component() declares a new web component
Each Stencil Component must be decorated with a @Component() decorator from the @stencil/core package. In the simplest case, developers must provide an HTML tag name for the component. Often times, a styleUrl is used as well, or even styleUrls, where multiple different style sheets can be provided for different application modes/themes.
2. Prop :- @Prop() declares an exposed property/attribute
Props are custom attribute/properties exposed publicly on the element that developers can provide values for. Children components should not know about or reference parent components, so Props should be used to pass data down from the parent to the child. Components need to explicitly declare the Props they expect to receive using the @Prop() decorator. Props can be a number, string, boolean, or even an Object or Array. By default, when a member decorated with a @Prop() decorator is set, the component will efficiently re-render.
3. Method :- @Method() declares an exposed public method
The @Method() decorator is used to expose methods on the public API. Functions decorated with the @Method() decorator can be called directly from the element, ie. they are intented to be callable from the outside!
4. State :- @State() declares an internal state of the component
The @State() decorator can be used to manage internal data for a component. This means that a user cannot modify this data from outside the component, but the component can modify it however it sees fit. Any changes to a @State() property will cause the components render function to be called again.
Here you can modify CSS and tsx according to your requirements.
All the css related to your component should go into your-component.css file and you can write the logic for the code in your-component.tsx file
How to use This Component In Simple Java script project
Integrating a component built with Stencil to a project without a JavaScript framework is straight forward. If you’re using a simple HTML page, you can add your component via a script tag. like this
<script type="module" src="/build/stencilcomponent.esm.js"></script>


<script nomodule src="/build/stencilcomponent.js"></script>
So after Modification in our index file, it will something look like this
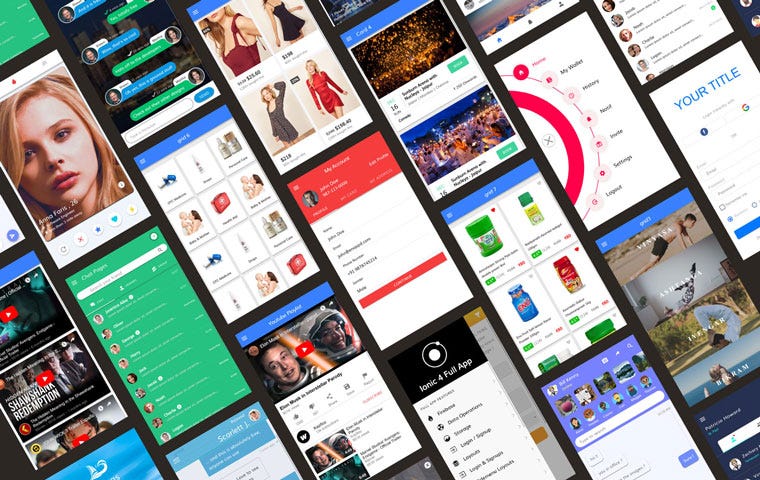
In this project, I have some created some more components according to mobile UI you can check the complete source code here for the example

Conclusion
We looked at how to create a custom component in stencil and how to use it is a simple javascript Project. we have also learned how to pass props to a parent component to children component and how to call a component function in a parent component.
Next Steps
Now that you have learned how to create custom components in Stencil and how to use it in a simple javascript project, you can also try:
- Ionic 4 PayPal payment integration – for Apps and PWA
- Ionic 4 Stripe payment integration – for Apps and PWA
- Ionic 4 Apple Pay integration
- Twitter login in Ionic 4 with Firebase
- Facebook login in Ionic 4 with Firebase
- Geolocation in Ionic 4
- QR Code and scanners in Ionic 4 and
- Translations in Ionic 4
If you need a base to start your next Ionic 4 app, you can make your next awesome app using Ionic 4 Full App
Use Ionic 4 Full app template for your next awesome app