Deploying Ionic Application to Play Store -Android

Table of Contents
- Deploying Ionic Application to Play Store -Android
- Making Android App Production Ready 📲
- What is APK and Bundle File?
- Creating Signed Bundle File using Android Studio
- What is a Keystore File? 🔑
- Configuring Google Play Console
- Conclusion
- Next Steps
- Ionic Capacitor
- Ionic Cordova
- Ionic React Full App with Capacitor
- Ionic Capacitor Full App (Angular)
- Ionic Full App (Angular and Cordova)
Deploying Ionic Application to Play Store -Android
Most of the developers make the application but lag when they have asked to deploy them on the Play Store (Android). So in this tutorial, we will go through complete procedures Like “How to create a signed bundle for android app and deploy the app to Play Store”.
It will be a “roller coaster ride " 😎, as we will be going through Android studio to the Android developer console. A lot of setup work is needed to deploy the Ionic Application.

Hurrrrrrryyyyyy!!
There is some Prerequisite you need to have before continuing further.
- You need an Android Developer Account
- ** Android Studio** should be installed on your machine.
- You should have an Ionic Application to deploy - [Most Important 😂]
Now we will start with setting up the Android app to be production-ready.
Making Android App Production Ready 📲
I am assuming you have an Ionic Capacitor/Cordova application and it is ready to be deployed. And if you are new to the Ionic framework you can know more about that on Enappd Blogs. Before moving on to Android Studio to create a Bundle file, there are some best practices that should be followed to create a production-ready code.
- Delete all the unused files like unused assets/code, it helps to minimize the size of the www folder that will be later used in creating an APK or Bundle file.
- Run
npm run lintto remove all the lint errors in the code, it maintains the code up to a standard.
Now we will move to the android studio, where we will create the Signed Bundle file. Earlier Google Play console accepts the APK format but now it started accepting the Bundle file.
What is APK and Bundle File?
APK stands for** Android Package Kit** and it is the type of format file used by Android Devices to install the apps into it. Android Package contains different elements that are needed to install the app on the device like app metadata. APK format is a variant of JAR (Java variant).
Android App Bundle is a file (with the .aab file extension) that you upload to Google Play. App bundles are signed binaries that organize your app’s code and resources into modules. If you want to read more about this go here.

Structure of App Bundle
Checking Android API level (Minimum Req)
Before creating the Bundle file, keep in mind your android app should be on Android API level 30 as accepted by Google Play Console (at the time of release of Blog)
To check what level your android app is – you can go to **platforms/android/project.properties **and check the target variable. Below is the attached screenshot, of how to check the target.

project.properties
If your Ionic android application is on a lower API level (<30) then to update it – add the below code to the config.xml file
<preference name="android-targetSdkVersion" value="30" />
The above code will help ionic-cli to know, which version of Android API needs to be added (in this case 30). If you want to change the Android level just change the value field in the above code. Now we can remove the android platform and reinstall it using the below commands.
$ ionic cordova platform rm android
    $ ionic cordova platform add android
Once the Android platform is added again, you can check the project.properties target variable. Now we are ready to create a signed bundle using Android Studio.
Creating Signed Bundle File using Android Studio
Open Android Studio by locating your Android folder (platforms/android) and go to the Build menu and select Generate Signed Bundle / APK.

Build Options
After selecting generate signed Bundle/APK, select Android App Bundle and click next (you can read the advantages/benefits of the Bundle file over APK)

Android App Bundle
From here, we have to follow the steps carefully, we have to create a Keystore file using which we will sign the Bundle file. Before creating a Keystore file, we will dive into “what is a Keystore file”.
Creating Keystore File
What is a Keystore File? 🔑
The Keystore file contains the pair of the public and private keys that can be used in signing the file (any file can be signed using Keystore , not only APK). Here, signing the file means claiming the ownership of the file. If I sign an APK/Bundle file with a Keystore then it shows I have both private and public keys and I am the owner of that signed File.4
Note :- Keep in mind, the generate keystore file should be protected as if we want to update the application in future then the Bundle file should be signed with same Keystore.
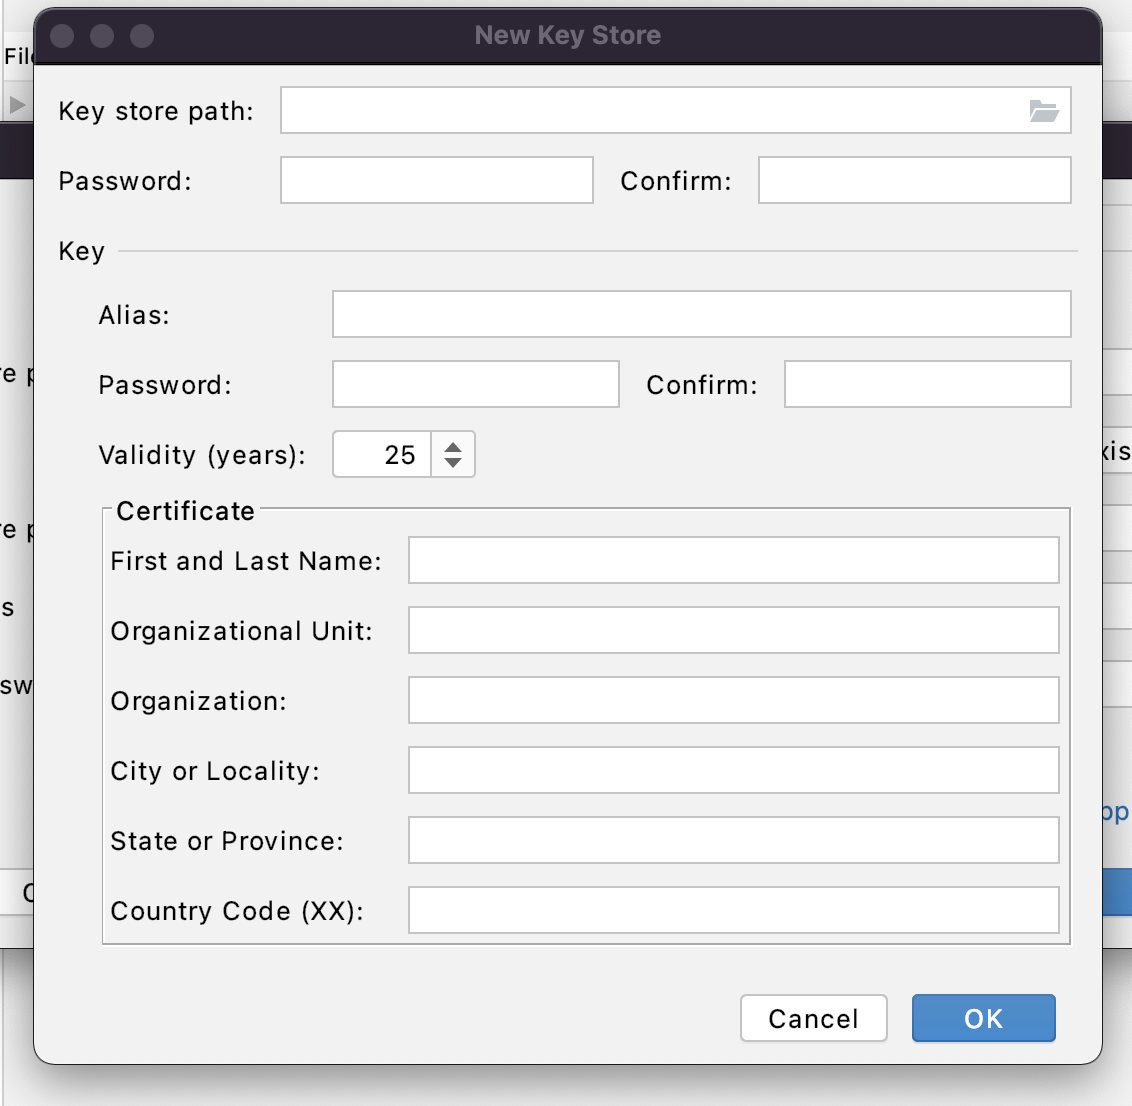
The Keystore file contains the Keystore file password and a **key with password and validity. **Some other basic information is also needed while creating the file like name, org, and country code.
Fill in all the required information for the Keystore file and click on “OK”. Now it returns to the previous dialog with filled-in details.

Created Keystore file
We have created and selected the Keystore file that would be used to sign the Bundle File. Now we just have to click on “Next” to sign it with that Keystore. Once you click on “Next”, it will ask, In which environment do you want to sign the Bundle File. Select “release” and click on Finish.
Now, you will see a popup in the bottom right section of Android Studio, where it will ask you to locate the Signed Bundle file. (you can can click on locate or goto (platforms/android/app/release/app-release.aab).
Note :- If you didn’t get any response after clicking finish (at last step). Then you must have wrong password or have other problem. To resolve this, try to create a signed APK (rather than creating a bundle file) using Keystore. It will show you the possible error.
Now we are ready with our app-release.aab file and we just have configured a few things in Google Play console and uploaded the app-release.aab file.
Configuring Google Play Console
First of all, we have to create an app in our Playstore console, this app is complete details of our app – along with Bundle. This app will be published in Google Play Store. To create the app click on the “Create app” option in the dashboard.

Google play console - create app
After clicking on creating an app, it will ask for several app-level details like App name, Default language, app or game, free or paid, and will require some declarations at last (get check the boxes ✅). After filling in all the details click on Create app.
Now app is created, the first thing you have to do is to **create a release. **Select Release Overview on the side menu and select create a release and you will see the below screen.

Create Release
There is an option for App Bundle, click on the upload button and select the generated app-release.aab file. Google Play Console will verify the bundle file, if it has some errors it will show there itself.
Possible Errors :- If you have uploaded a Bundle with wrong Keystore, you will get error of wrong SHA signing OR you will get the error for wrong Android API level (below API level 30).
After successful upload, it will show the uploaded Bundle file as below screenshot :-

Uploaded Bundle file
After setting up the release, you have to click on **Review Release. **If there are some errors in creating a release it will show up (you will get an option to fix those error). While fixing those errors you will be taken to the Dashboard to update the Store details like App screenshots, Details, and other stuff.
Dashboard contains various setting up info, like Target Audience, app access and more. You can also create an internal testing team and release an app for only a limited group of people. Some of the Information is mandatory – without entering it, you will not be able to release the application.
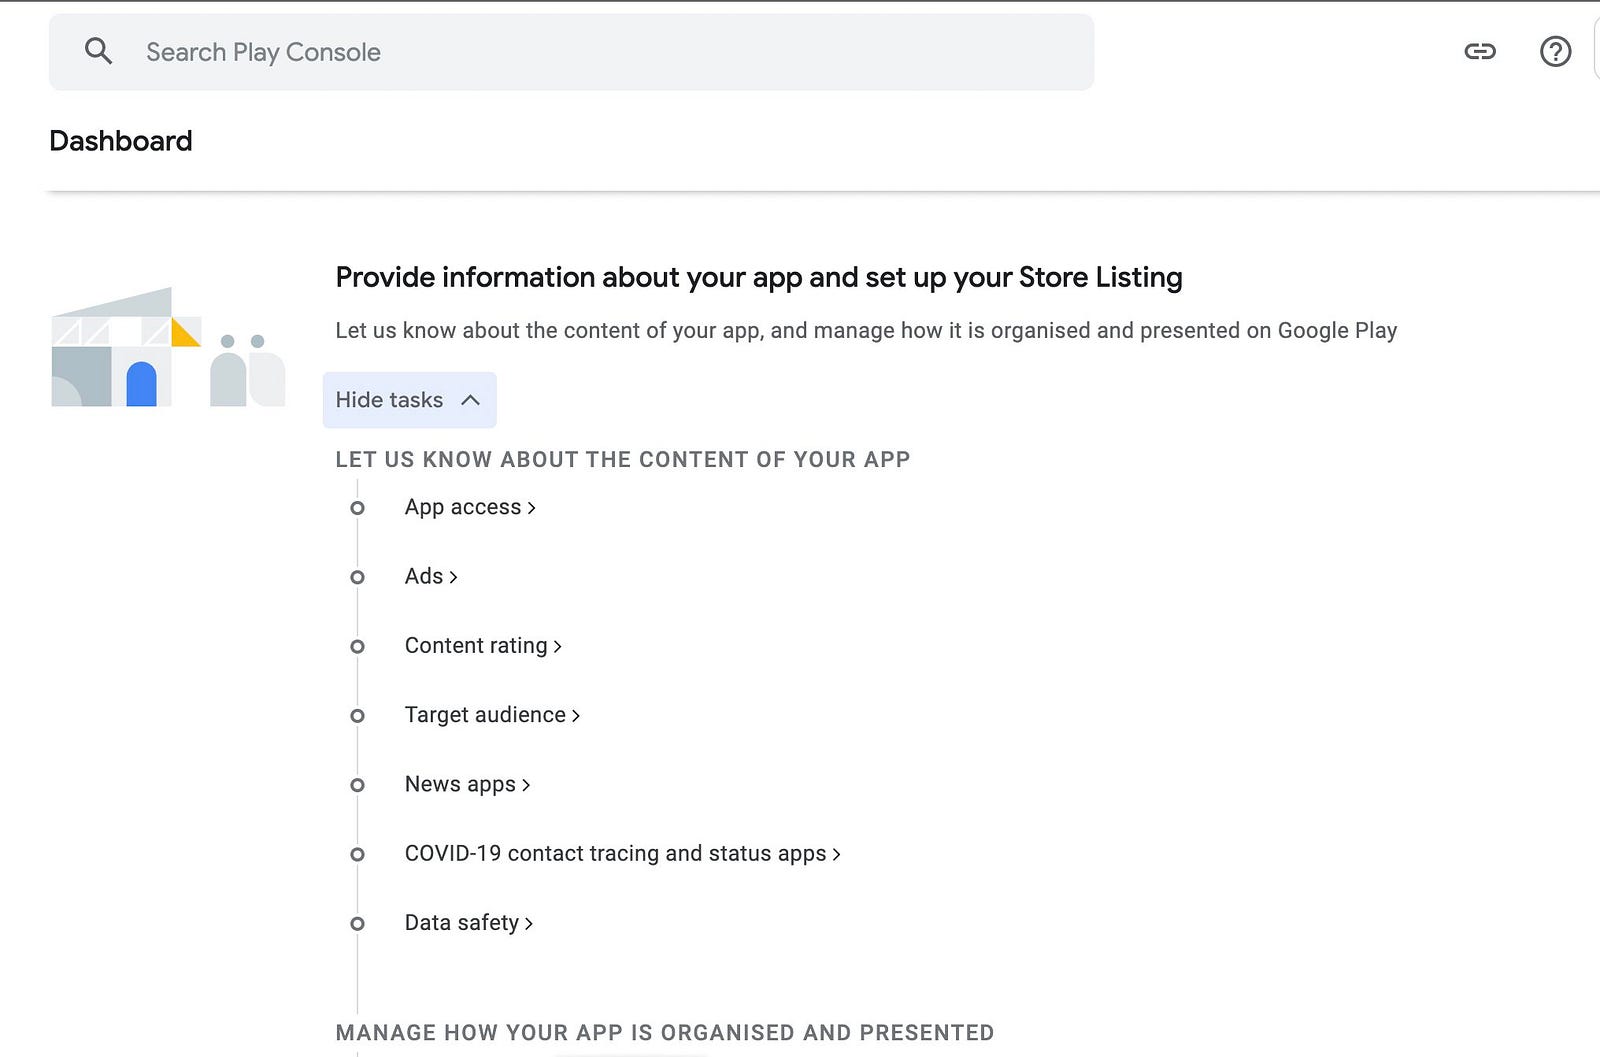
Select Dashboard, Goto “Set up your App” and click on “Set up your Listing”. This is the most important part to set up, this info will be seen by users on the Play store.

Click on Set up Store Listing
Once you click on Store Listing, it will ask for the App name, description, app icon, and for few screenshots of the app on the device/simulator.

Store Listing
Click on “Save” to submit the Store information and go back to Release Overview and Continue there.
Once you are done with all the information – click on “Review Release”. Then check all the information before submitting the app. Clicking “Submit” will submit your app to the Google team for review. It will take some days for review and after that, your application will be released to the Play Store 🚀.
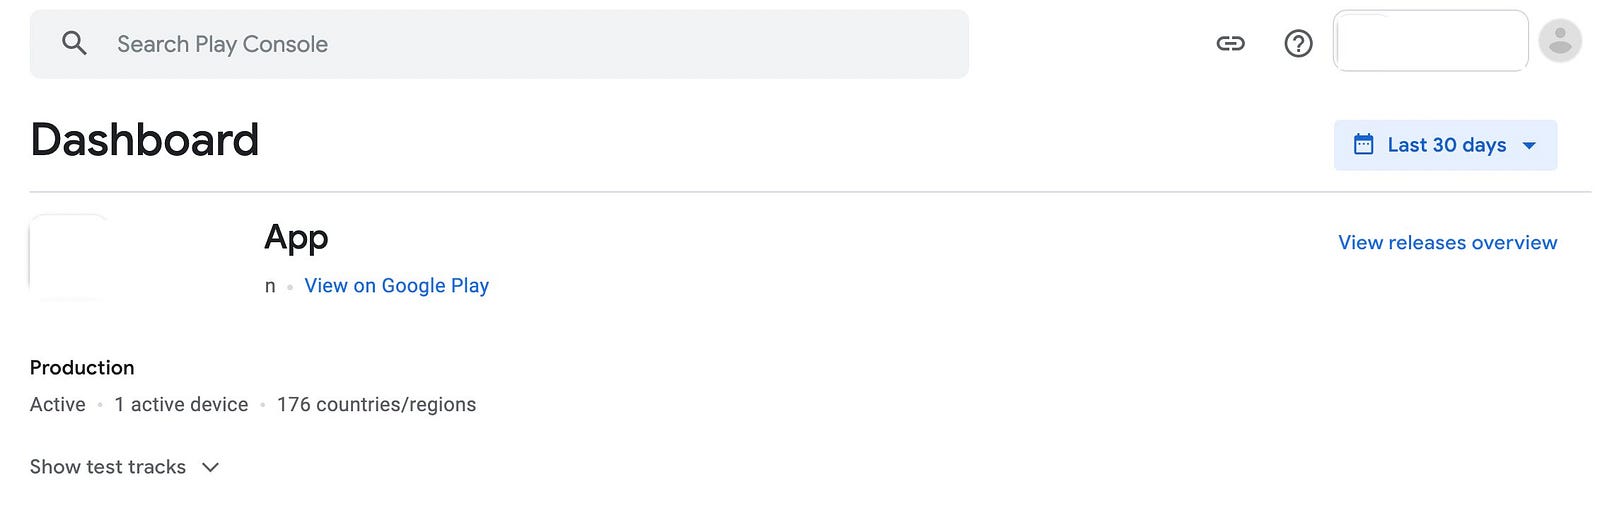
App Deployed to Google Play Store
Conclusion
Now our Android Application is being deployed to the Google Play Store. You can share the link to the app with the users, so they can download the application and use it. Stay tuned to Enappd Blogs for more Awesome Blogs.
Next Steps
If you liked this blog, you will also find the following blogs interesting and helpful. Feel free to ask any questions in the comment section
Ionic Capacitor
- Basic – Geolocation | Barcode & QR code | Facebook Login (Angular) | Facebook Login (React) | Icon and Splash | Camera & Photo Gallery | Debugging with browser|Theming in Ionic apps
- Advanced – AdMob | Local Notifications | Google Login | Twitter Login | Games using Phaser | Play music | Push Notifications
Ionic Cordova
- Taxi Booking App example with Ionic, Node, Express and MySQL
- Ionic Payment Gateways – Stripe with Firebase | Stripe with NodeJS | PayPal | Apple Pay | RazorPay
- Ionic Charts with – Google Charts| HighCharts | d3.js | Chart.js
- Ionic Authentications – Via Email | Anonymous | Facebook | Google | Twitter | Via Phone
- Ionic Features – Geolocation| QR Code reader | Pedometer| Signature Pad | Background Geolocation
- Media in Ionic – Audio | Video | Image Picker | Image Cropper
- Ionic Essentials – Debugging with browser| Native Storage | Translations | RTL | Sentry Error Monitoring | Social sharing
- Ionic messaging – Firebase Push | Reading SMS | Local Notifications
- Ionic with Firebase – Basics | Hosting and DB | Cloud functions | Deploy App to Firebase | Firebase simulator
- Unit Testing in Ionic – Part 1 | Mocks & Spies| Async Testing
Ionic React Full App with Capacitor
If you need a base to start your next Ionic 5 React Capacitor app, you can make your next awesome app using Ionic 5 React Full App in Capacitor

Ionic 5 React Full App in Capacitor from Enappd
Ionic Capacitor Full App (Angular)
If you need a base to start your next Angular Capacitor app , you can make your next awesome app using Capacitor Full App
Capacitor Full App with huge number of layouts and features
Ionic Full App (Angular and Cordova)
If you need a base to start your next Ionic 5 app, you can make your next awesome app using Ionic 5 Full App
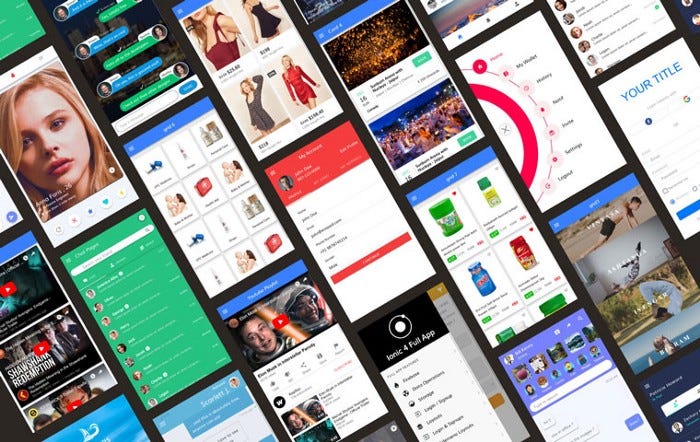
Ionic Full App in Cordova, with huge number of layouts and features